Showing posts with label Homemade. Show all posts

Let Them Eat {Banana} Cake


My mom has a banana cake recipe that is literally to die for. And with cream cheese frosting...holy yum! It was a huge hit when I made it for our Easter celebration this year! Don't be fooled, the word banana does not make it healthy by any means. {But it's so good I don't even feel one bit guilty for indulging}

RECIPE: 
1/2 pound butter 
1 cup sugar 
2 eggs 
1 cup mashed ripe bananas 
1 & 3/4 cups unbleached flour 
1/2 teaspoon salt 
2/3 teaspoon baking soda 
5 tablespoons buttermilk
1 teaspoon vanilla extract 
1 ripe banana 
Handful of walnuts 

  • Preheat oven to 350. Grease and flour two 9-inch layer cake pans 
  • Cream butter and sugar together until light and fluffy. Add eggs one at a time, beating well. Thoroughly mix in mashed bananas. 
  • In a separate bowl, stir together the dry ingredients. Add the dry ingredients into the butter and egg mixture, stirring completely. Add buttermilk and vanilla extract. 
  • Pour batter into the pans. Bake for 25-30 minutes. 
  • Cool before frosting 
Cream Cheese Frosting 
2 pounds softened cream cheese 
2 sticks softened unsalted butter 
3 cups confectioners' sugar 
2 teaspoons vanilla extract 

  • Beat cream cheese, butter and 1 cup sugar with a mixer until combined. Mix in remaining sugar with mixer running. Add vanilla and beat until fluffy. 
  • Frost your heart out and add walnuts and bananas to the top.

Linking up with: Walkabout Wednesday


Easy Popcorn

Popcorn is my favorite food. If I could, I would eat it for every. single. meal. 

The best is when my dad makes it homemade on the stove. However, that takes effort and cleaning...and who really wants to clean? Microwave popcorn is subpar...at best. I mean what is that yellow hydrogenated oily goo even made of? I know it tastes good, but it can't be good for you. Not to mention it's so expensive! So, what's a popcorn lover to do? Find a much simpler, cheaper, healthier and all around better solution, of course!


Here's how a frugal college student with only a microwave to cook with does it:


Take a plain brown paper bag and fill it with about 1/4 cups of regular popcorn kernels. 
Then, fold the paper bag at the top twice to keep the kernels from flyin' all over the place. 
Put it in the microwave for about 1 and 1/2 to 2 minutes (if the kernels stop popping every 1 or 2 seconds, then take it out earlier!)
Sometimes I just eat it plain, other times I put a little salt and butter in the bag and shake it up. If you're feeling a little crazy, then you can add other things like cinnamon and sugar, parmesan cheese, pepper, anything, really. 
And there ya have it, a snack that's perfect at home or on the go! 


DIY: Coffee Mugs

Bubs and I both have a newfound love of coffee. This new relationship is advantageous when we stay up too late studying or talking to each other and Steven has to wake up at 6am and I have to get my booty out of bed for my 8am classes!

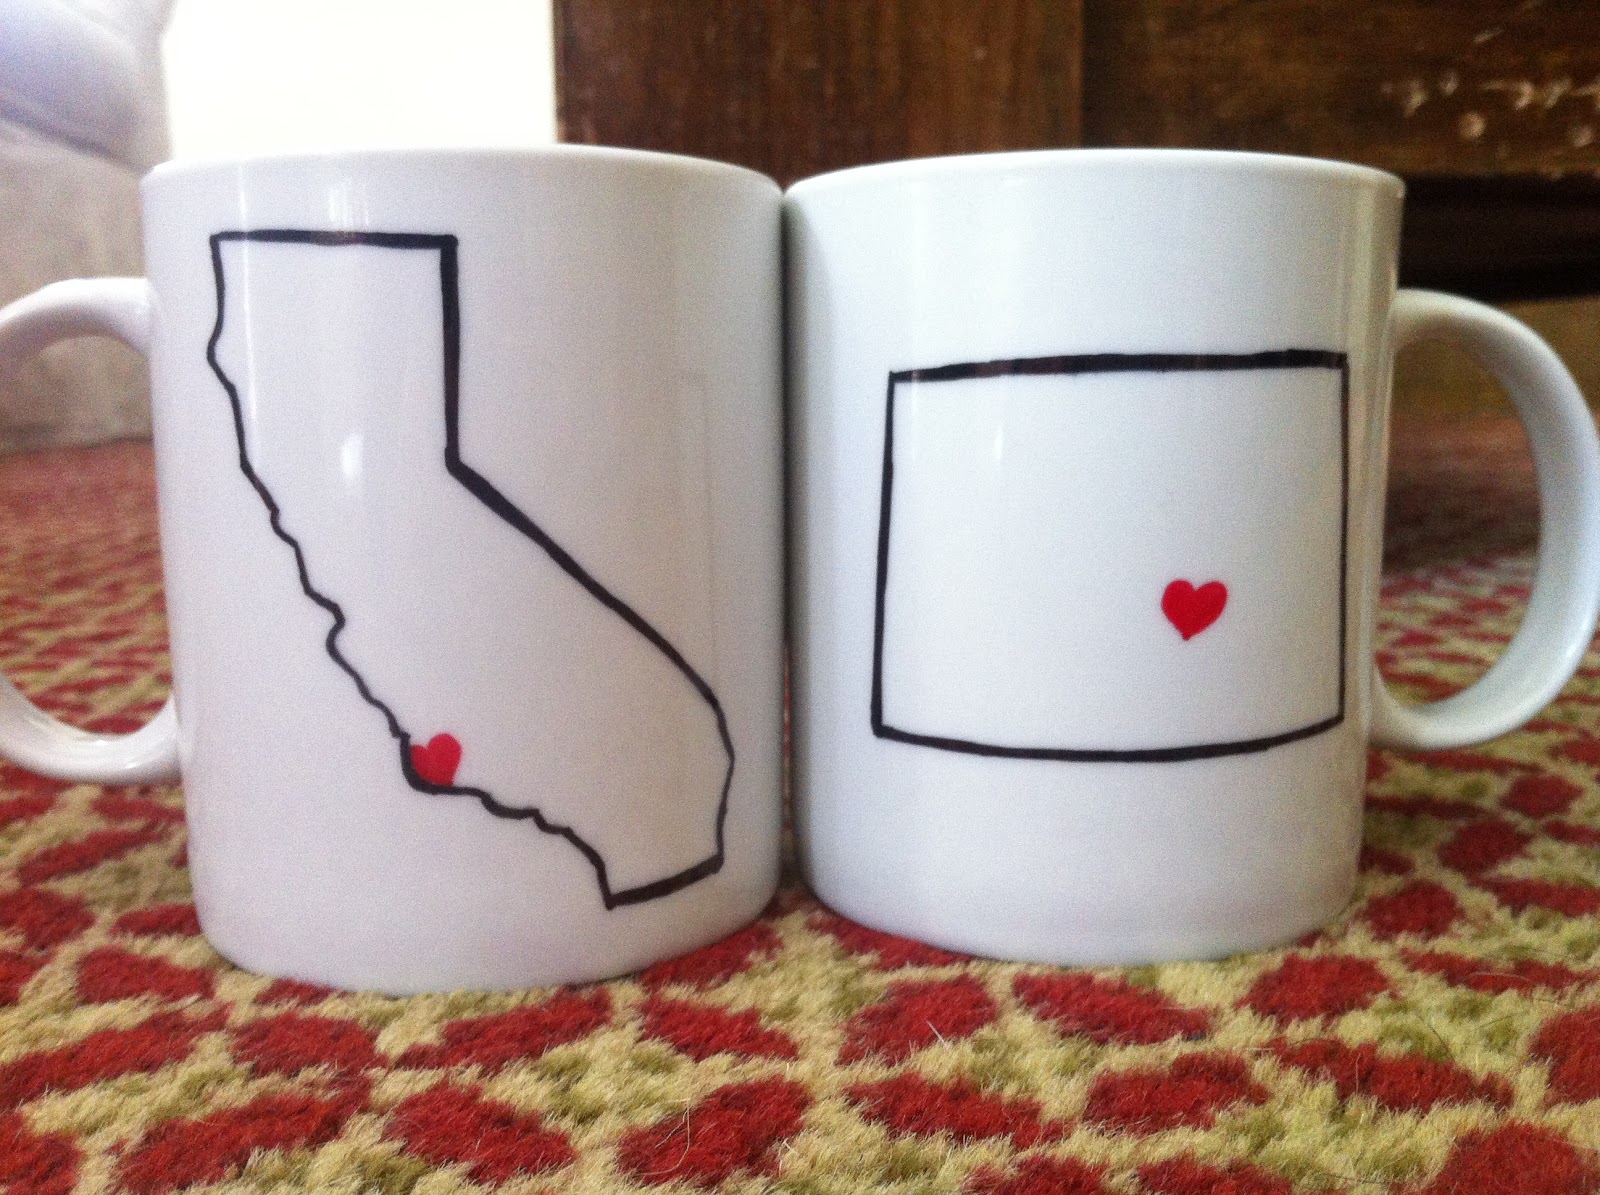
So, when I found a pin on Pinterest for DIY long distance mugs, I thought it appropriate to make them for us! Now, we can sip our coffee in different states and feel a little closer to each other.


The only thing that you'll need to buy for these are the 2 mugs which you can get pretty much anywhere. I bought mine from Homegoods for $2.50 each. 
If you wanted to get fancy, you could get solid color mugs too! I considered getting us some adorable girly yellow ones, but I actually want Steven to use the mug, so I opted for the white instead.


Then, I printed out Colorado and California, so I could use them as an outline. After, I cut the states out and taped them onto the cup. I used a sharpie to trace around the states. You can use any color sharpie that your heart desires.
Colorado is pretty much the best state ever for this because it's a square...California, not so much.


I let the ink dry for a second and then took off the states and darkened the outline.


Then, I drew hearts and a dotted line to connect the two cities! 
You can also add anything else you'd like to the cup...quotes, another drawing...anything!
I wrote a little message on the bottom of the mug too. 


Pop those bad boys into the oven for about 40 minutes at 350 degrees. A perfect gift for any occasion! 
This will make the marker permanent on the mug...you can even put them in the washer!


(You don't have to make these mugs specifically, you can create any type of design that you want...just follow the same easy steps!)


Et, voilĂ ...a finished product!!